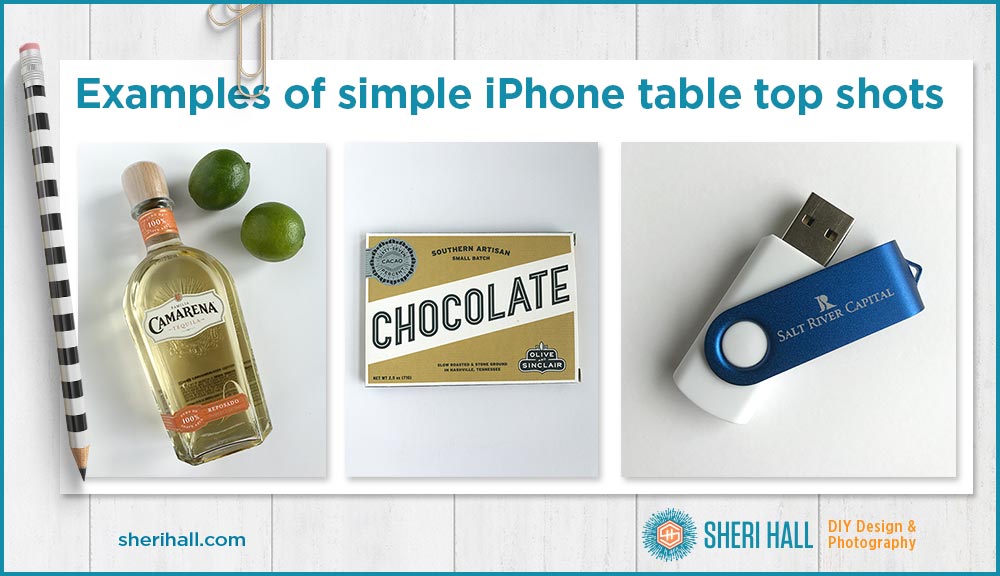
Tabletop photography is a necessity! You’ll want to able to shoot your own product photography, or shoot a place setting; a desktop scene with iPhone, journal, pen & coffee; a simple item for an Instagram post; or a holiday-themed Facebook header. It’s fun, it’s quick, it’s easy, and here’s how to do it.
Step 1. Gather your stuff
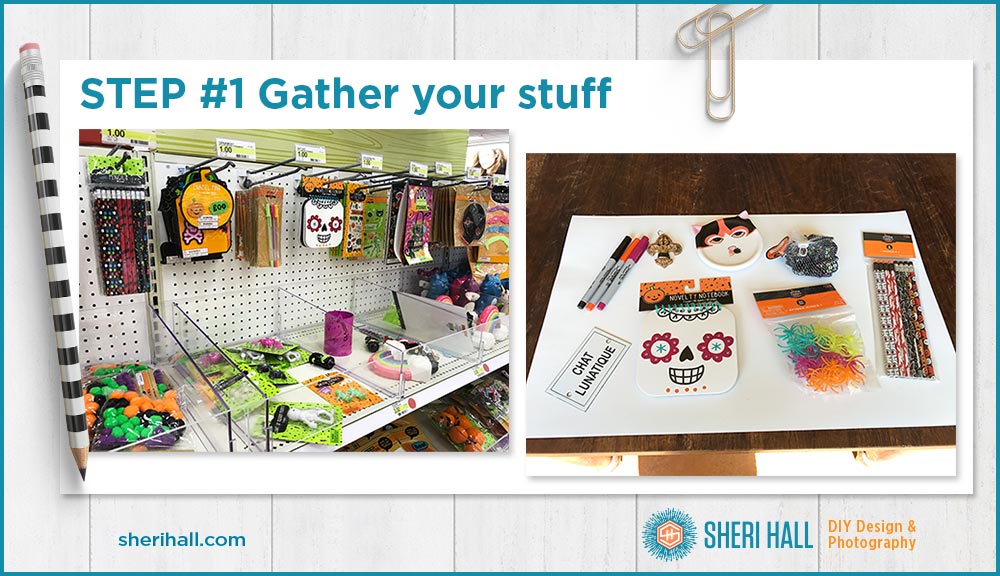
Shop at a store or wander through your own home if you’re a pack rat and pick up things that match the theme of your shoot. The theme could be a holiday, a color, a pattern, texture, table place setting, plate of food, your products, wearables or whatever you can dream up.
I am using Halloween stuff from the Dollar Spot at Target because it’s fun, colorful and cheap. Truth be told, I wanted to throw some candy corn in here too, but who are we kidding — I would eat the whole bag after finishing the shoot, so that’s a no go!
Step 2. Lay out your art in indirect light
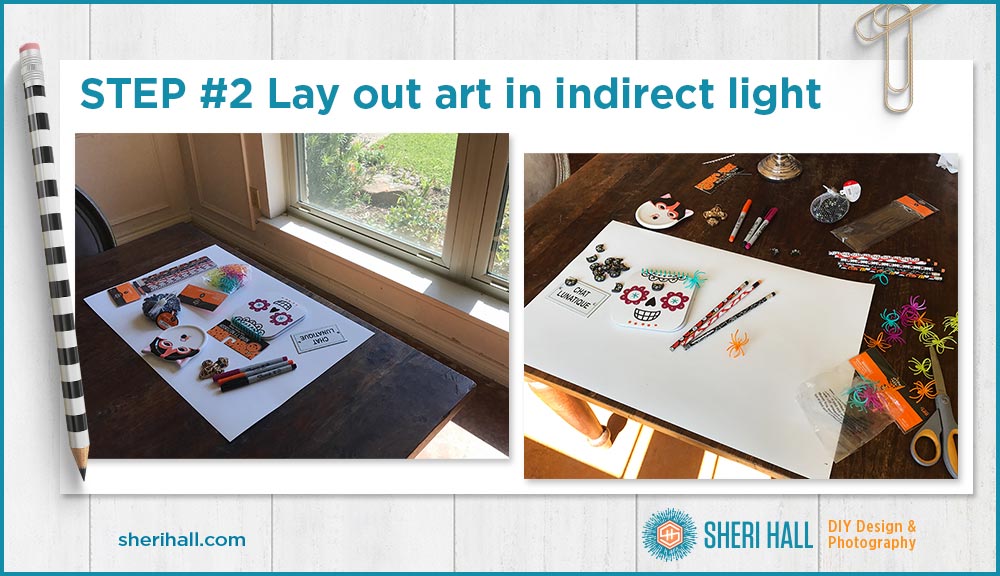
Find a good large window that lets in a lot of natural light. So yes, you’ll need to shoot during daylight hours for this project. FYI I shot my example at 1pm on October 17 in Dallas, Texas in a south-facing dining room window.
You want your art to be about 1-3 feet from the window on a table or the floor. Make sure the sun isn’t hitting your art directly. Use a piece of white foam core for your background. It’s stiff and lightweight so it’s easy to move if you need to move your art around once you get it laid out.
You can also use colored paper or fabric but I would lay that over the foam core so you can move it if you want.
Step 3. Set up a reflector
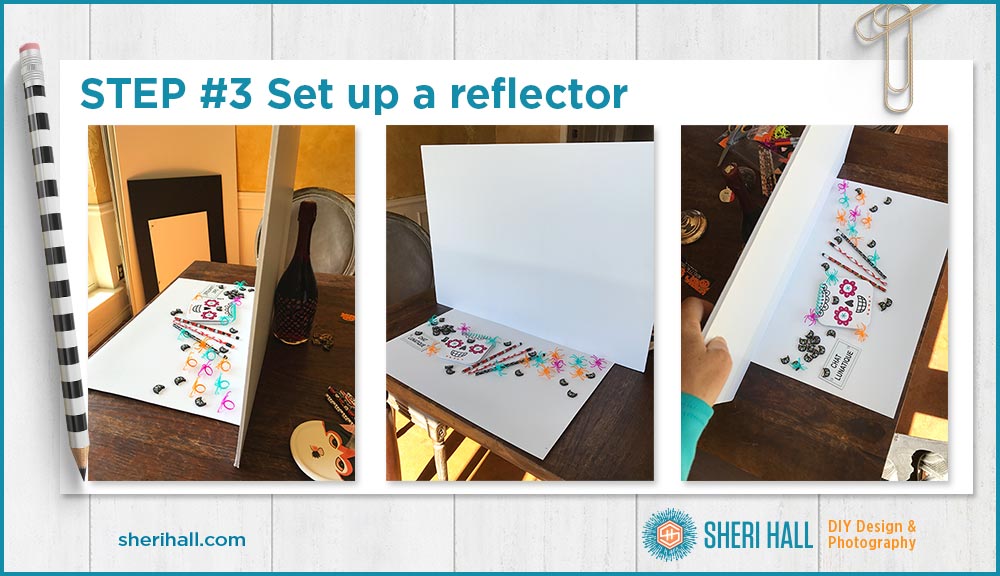
This is the professional photographer step that most people don’t know about! Since light loses its strength the farther it gets from your art, you want to bounce that light back at your art, kind of like a mirror. In this case I’m using another piece of foam core because it’s easy to stand up and very bright white.
If you want to keep it simple, just stand one piece up along its long side an inch or two from your art. Put something tall and heavy behind it so the board can lean a bit. I used a full bottle of wine.
This step is a must for better product photography because it improves the light and therefore the product.
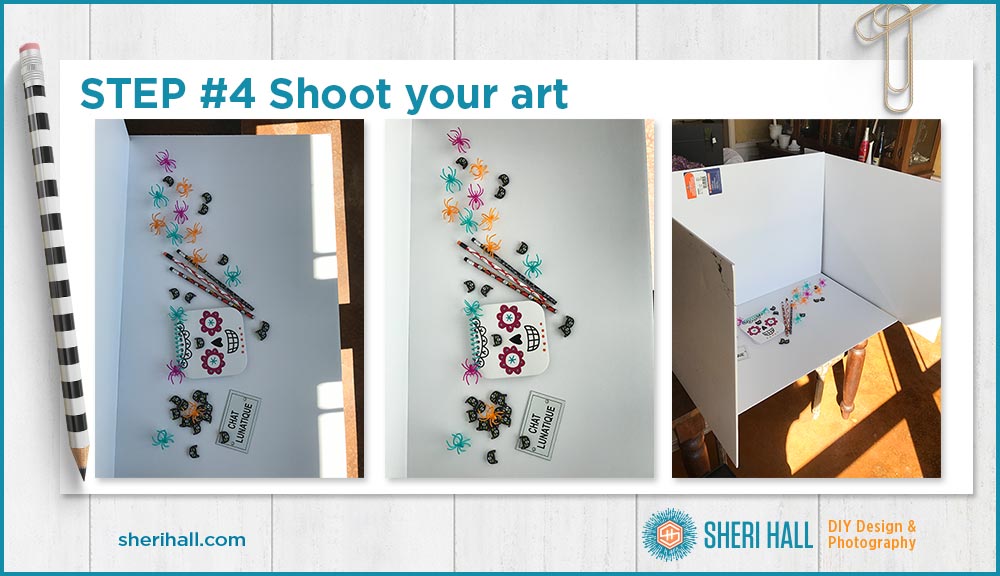
Step 4. Shoot your art or product
It might seem natural to stand in front of your art and shoot it horizontally with your phone or camera, but if you stand between the window and your art, you’ll be blocking that glorious light you just worked hard to invite into your art.
Stand to one side or the other and shoot vertically instead. If you are shooting on a dining table (like I am) and you are short (like I am), get a stool to stand on. You want to shoot your whole scene plus a little extra to be cropped out later, and you want to shoot it straight down so your phone or camera should be parallel to the table.
Take the shot, move a bit and take another making sure that your whole scene is well lit and included in your shot. Depending on how bright your light is, you can angle your main reflector down a bit to angle the light into your art. I do this at about a 5-10 degree angle. I do this with my left hand and hold my phone with my right hand.
If you want to get more complicated with the reflector, and possibly have more light bouncing around your piece, lean 2 more pieces of foam core against your current piece to make a 3-sided box that is open toward the window. You can tape the boards at the corners or just lean them carefully.
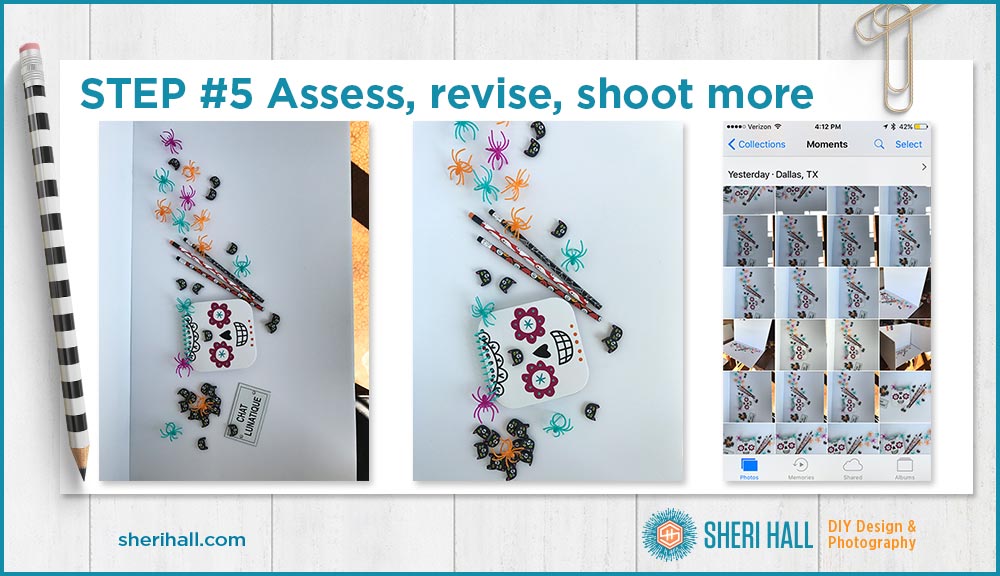
Step 5. Look at your shot on the phone or camera and assess it
Did you include everything? Does anything look funky or at a strange angle? Move or rotate items as necessary to fix the issues. Shoot again and asses again.
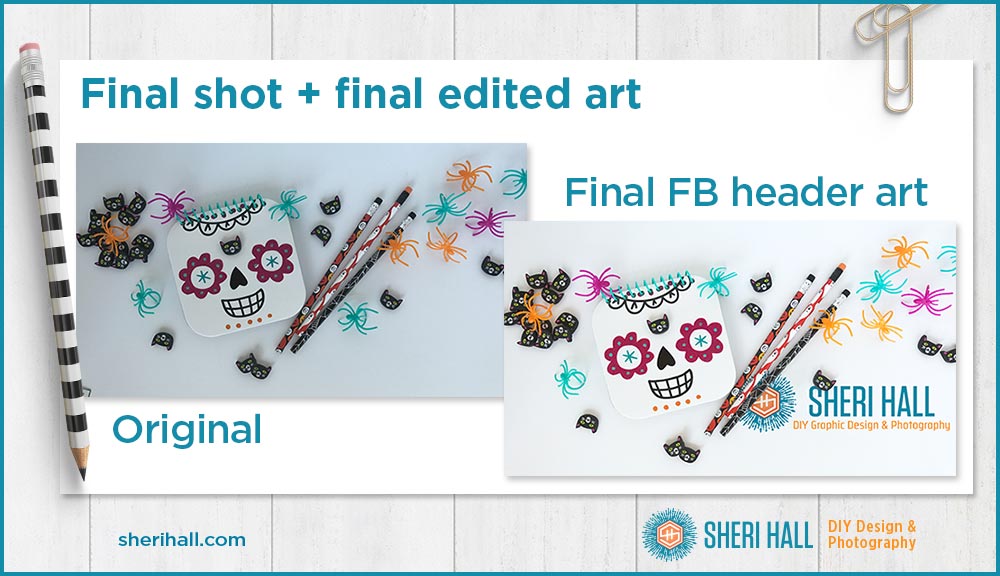
I shot at least 10 photos getting everything just perfect and then after I think it’s good to go I shoot 5 more just to make sure. I come in a little close to crop in phone. This makes the phone read the light differently and may give you a better lit shot. I was not worried about that since I am editing mine in Photoshop. I left the lower right section of my art empty because I plan to add my logo down there in Photoshop.

What’s next?
If you want to get fancier, use a colored background or fabric, handmade paper etc. This is a super easy way to fancy up your product photography with simple, inexpensive tools you probably already have.
What’s your experience?
Have you ever tried shooting your own product photography? Or just a fun artsy shot? What have you shot that would benefit from this tabletop + reflector set-up? Do you have any other tips to share?
Now that you know this technique, what do you plan to shoot first? Please leave your comment below.